Using CocoaPods
This article provides steps on how to set up Blueshift's iOS SDK to integrate your app with the Blueshift platform to track events on your app.
Using our iOS SDK in your app is easy. Perform the following steps to set it up in your app's Xcode project using CocoaPods, so that you can integrate our platform with your app.
1. Download CocoaPods
CocoaPods, distributed as a Ruby gem, is a dependency manager for Objective-C and Swift that simplifies the process of using third-party libraries in your code, such as the iOS SDK that we provide. We will provide steps on how to use CocaPods to get Blueshift's iOS SDK and use the SDK in your app.
To download and install it, launch the terminal on your Mac and run the following command on it:
sudo gem install cocoapodsAfter the CocoaPods package is installed, run the following command on the terminal:
pod setup2. Create the Podfile for your iOS app's Xcode project
This is the file in which you specify that your Xcode project's target should use our iOS SDK (or specify dependency on our SDK, in nerdy terms). Let's do that in a bit after you perform the following steps to create the Podfile for your Xcode project:
- Change the directory on the terminal to the Xcode project file (
.xcodeproj)'s location. For example:
cd ~/ReadsSwift- Run the following commands on the terminal to create the Podfile in that directory and open it using Xcode.
touch Podfile
open -a Xcode Podfile
You just created the Podfile and opened it using Xcode!
3. Specify the iOS app's dependency on Blueshift's SDK
Now, we get to the dependency part. Copy and paste the following lines into the Xcode window that opens the Podfile for editing:
target 'APP NAME TARGET' do
    pod 'BlueShift-iOS-SDK'
end
Ensure that you replace APP NAME TARGET with your application's target name. For example:
target 'ReadsSwift' do
    pod 'BlueShift-iOS-SDK'
end
If your app already has a Podfile, you just need to paste pod 'BlueShift-iOS-SDK' in the right location. Your app's Podfile should look like this:

4. Install the SDK
After you complete the steps above, you can install the SDK. When you install the SDK, the process fetches all the files of our SDK and puts them in the right place on your Mac. It also ensures that the dependencies that you have defined in the Podfile are met appropriately (or, in short, it sets up the SDK).
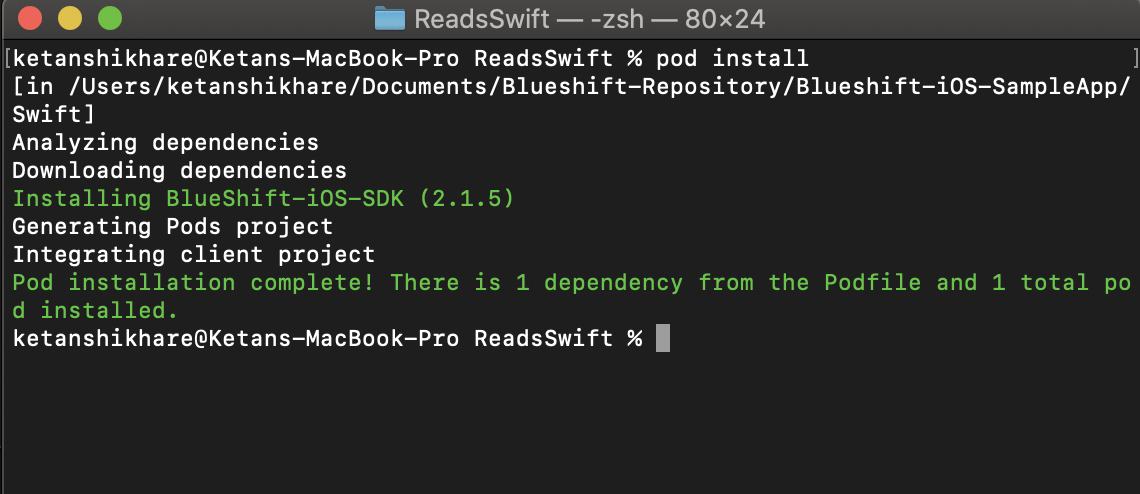
Run the following command on the terminal to install dependencies:
pod install
This analyzes all the dependencies specified in the Podfile, gathers all the files in the right location, sets up the SDK, and generates a new Xcode workspace (a .xcworkspace file). Ensure that you use the new workspace instead of the project file to build your app.

5. Register your app with Blueshift
Once you set up the SDK in your Xcode project, register your app as a channel in the Blueshift web app.
Summary
- The SDK is installed and is ready to configure
- The Push notification adapters are set for sending push notifications.
That’s it. You can proceed to the next steps.
Updated 5 months ago
Now that you're done with setting up the SDK in your app, it's time to include it in your code, configure it, and initialize it to start using its features. For more information about it, see: